
Great things in business are never done by one person. They’re done by a team of people. We have that dynamic group of peoples

Table lamps are essential for lighting in many homes and offices, but over time, they can break. If you’re wondering how to fix a broken table lamp, you’ve come to the right place! This guide will show you simple, cost-effective steps to repair your lamp and extend its life..Not only can you save money, but you can also extend the life of your lamp, keeping it functioning for years to come.
In this comprehensive guide, we will walk you through everything you need to know about fixing a broken table lamp. Whether you’re a beginner or someone with basic DIY knowledge, this article will provide step-by-step instructions to help you repair your lamp efficiently and safely.
Before you begin repairing your table lamp, it’s important to diagnose the issue. The most common problems that occur in table lamps are related to the lamp socket, switch, or wiring. Here are a few of the most frequent issues:
Broken Lamp Socket: The socket is the part where the bulb is screwed in. A broken or damaged socket can prevent the lamp from turning on. In some cases, a loose socket can cause flickering or intermittent light.
Faulty Switch: Over time, the switch on your lamp can become worn out, leading to a failure in turning the lamp on or off. If the switch feels loose or doesn’t respond properly, it may be time to replace it.
Worn-out Wiring: Wiring issues are common in older lamps, especially if the cords are frayed or damaged. Exposed wires can be dangerous and should be repaired as soon as possible to prevent potential electrical hazards.
Flickering Light: A flickering lamp is often caused by either a faulty socket or an electrical issue within the wiring. If your lamp flickers even after replacing the bulb, further inspection is required.
Understanding the issue is the first step in your repair process.
Before diving into the repair process, it’s essential to have the right tools. While you won’t need anything too advanced, certain basic tools will make the job easier and safer:
When it comes to lamp repair, safety is paramount. Be sure to have these tools on hand before beginning any work.
Now that you know the common problems, let’s dive into how to fix a broken table lamp with this detailed step-by-step guide.
Unplug the lamp and prepare your workspace before starting on how to fix a broken table lamp. This ensures that you’re working safely while addressing common issues like faulty switches or broken sockets.
Place the lamp on a sturdy surface, such as a workbench or table, and gather your tools. It’s always a good idea to work in a well-ventilated area and wear protective gloves to avoid any accidental cuts or electrical shock.
Once you know how to fix a broken table lamp, the next step is to remove the bulb and lampshade.Gently unscrew the bulb and set it aside. Take off the lampshade by either unscrewing it or carefully lifting it off, depending on the type of lamp you have.
At this point, take a close look at the bulb to see if it’s still functional. If the bulb is the issue, replacing it with a new one might be all you need. But if the lamp itself is broken, you’ll need to proceed with the next steps.
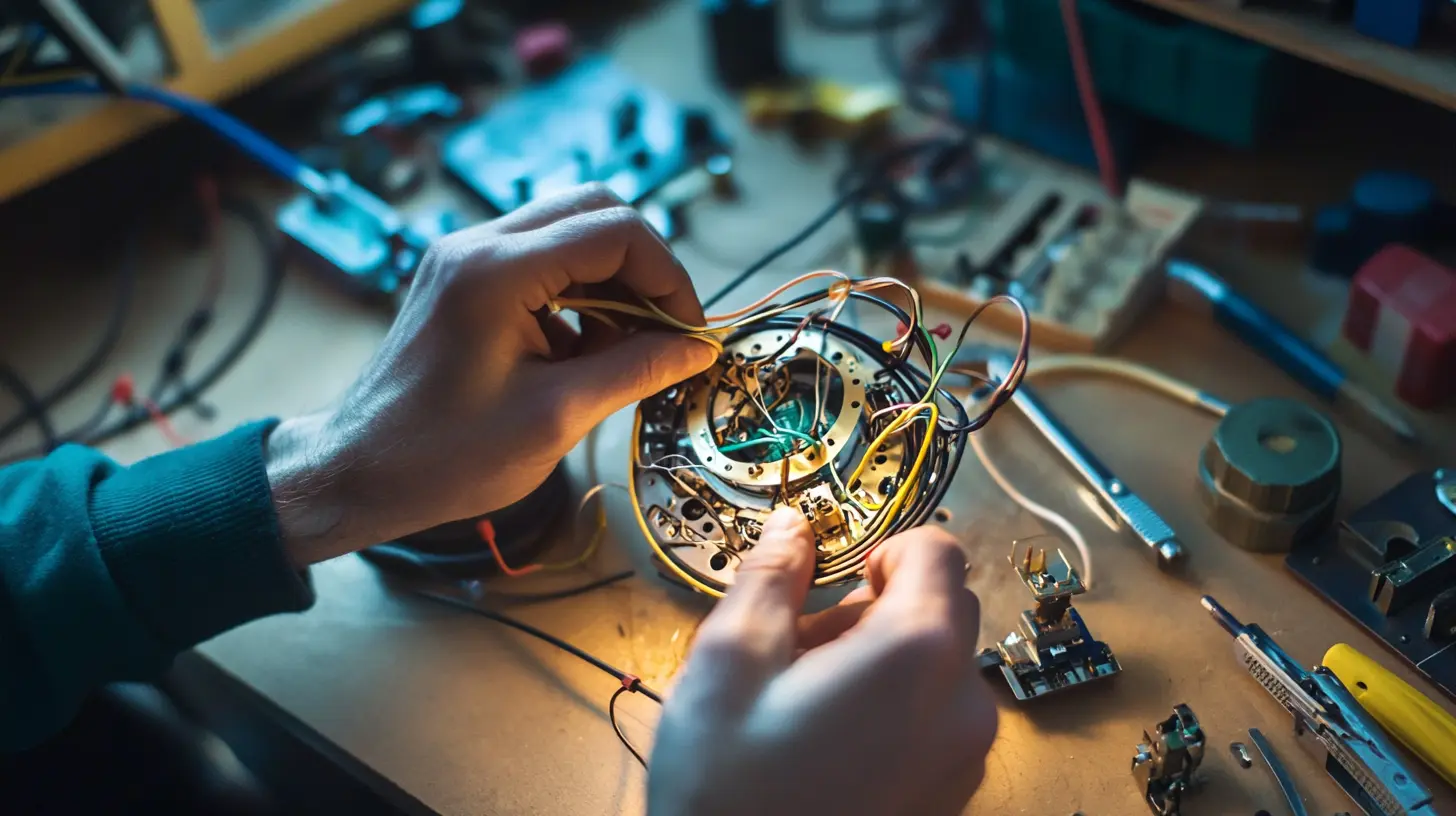
Now it’s time to open up the lamp. Depending on the type of lamp, you may need to remove screws from the base to access the wiring and socket. Carefully unscrew any parts that are holding the lamp together.
Be mindful of the wiring as you open the lamp. You don’t want to damage any wires during this process. If the lamp is an antique or a delicate design, take extra caution when disassembling the pieces.
Once you’ve identified the issue, you can start replacing the faulty components to fix your broken table lamp. Pay special attention to the socket, switch, and wiring.
At this stage, you’ll need to inspect the socket and wiring thoroughly to understand how to fix a broken table lamp.
Now that you’ve identified the problem, it’s time to replace the damaged parts. If the socket is the issue, carefully remove the old socket and install the new one. Make sure the new socket is compatible with your lamp and securely attached.
For a faulty switch, you’ll need to disconnect the old switch and wire in the new one. Different types of lamps use different switches, so make sure you purchase a switch that matches your model.
If the wiring is damaged, use wire cutters to remove the old wire, then strip the ends of the new wire before connecting it to the appropriate parts. Use electrical tape or wire nuts to secure the connections and ensure a safe, tight fit.
Once you’ve replaced the necessary parts, carefully reassemble the lamp. Ensure that all screws are tightened and that the socket and switch are securely in place. Reattach the lampshade and insert the bulb.
Before you plug the lamp back in, give it a quick visual inspection to ensure that everything is correctly assembled. Once you’re confident, plug the lamp into the socket and turn it on. If the light comes on without any issues, you’ve successfully repaired your table lamp!
A broken lamp socket is one of the most common issues in table lamps. Whether it’s caused by physical damage or wear and tear, a malfunctioning socket can prevent the lamp from working properly.
Replacing a lamp socket is relatively simple if you have the right parts. Here’s how:
If you’re looking for high-quality lamp components, visit Home – Wholesale LED Table Lamps for bulk orders of lamp sockets, switches, and other parts.
Switches are crucial for the operation of your lamp. A faulty switch can make your lamp unreliable or even unusable. Here’s how to replace it:
While many lamp repairs are simple DIY tasks, there are times when calling a professional is the best option. If you encounter electrical issues that you’re not comfortable handling, or if the lamp requires complex repairs, it’s always best to call a licensed electrician.
Now that you understand how to fix a broken table lamp, you can confidently repair any malfunctioning lamps in your home. Following these steps not only saves money but also helps the environment by extending the life of your lamps.
For businesses, especially those dealing with bulk lamp orders, repairing table lamps can be a more cost-effective and eco-friendly solution than constantly replacing them. By offering repair services or maintaining lamps in good working order, you can ensure that your products last longer and reduce waste.
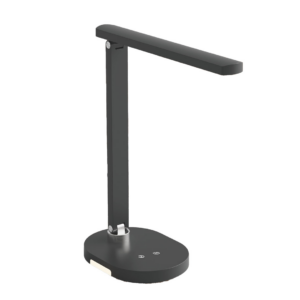
If you’re looking to order replacement parts for lamps, visit Home – Wholesale LED Table Lamps for high-quality parts and components. With the right tools and knowledge, you can repair your lamps quickly and efficiently, saving both time and money.Explore more options such as the NV-002D Adjustable Desk Lamp, or consider checking out the NV-001D Ideal Desk Lamp for advanced features and functionality.

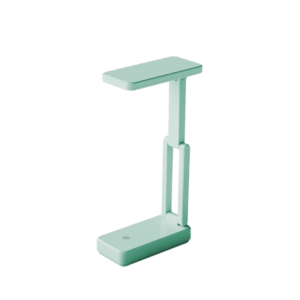
Looking for the top LED bright desk lamps for offices, study, or bulk purchase? Explore top-rated lamps with high lumen output, energy efficiency, and B2B-friendly options.

Discover how many watts a table lamp uses, from LED to incandescent bulbs. Learn about energy-saving tips, safety, and the best bulb types for your lamp.

Discover the best cordless desk lamp for work, study, and home. Explore key features, benefits, and wholesale purchasing options for bulk buyers.

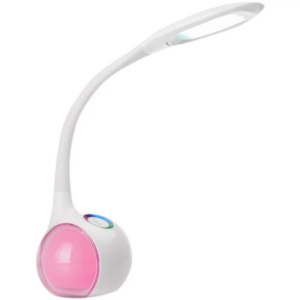
Find the best study lamp for eye comfort with expert tips on brightness, color temperature, and essential features for better focus and efficiency.

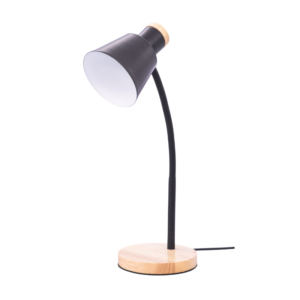
Learn the best table lamp height for your living room. Follow expert rules, size charts, and pro tips to get perfect lighting!How Tall Should Table Lamps Be in a Living Room? Find the ideal height, size charts, and expert tips to create the perfect lighting setup!
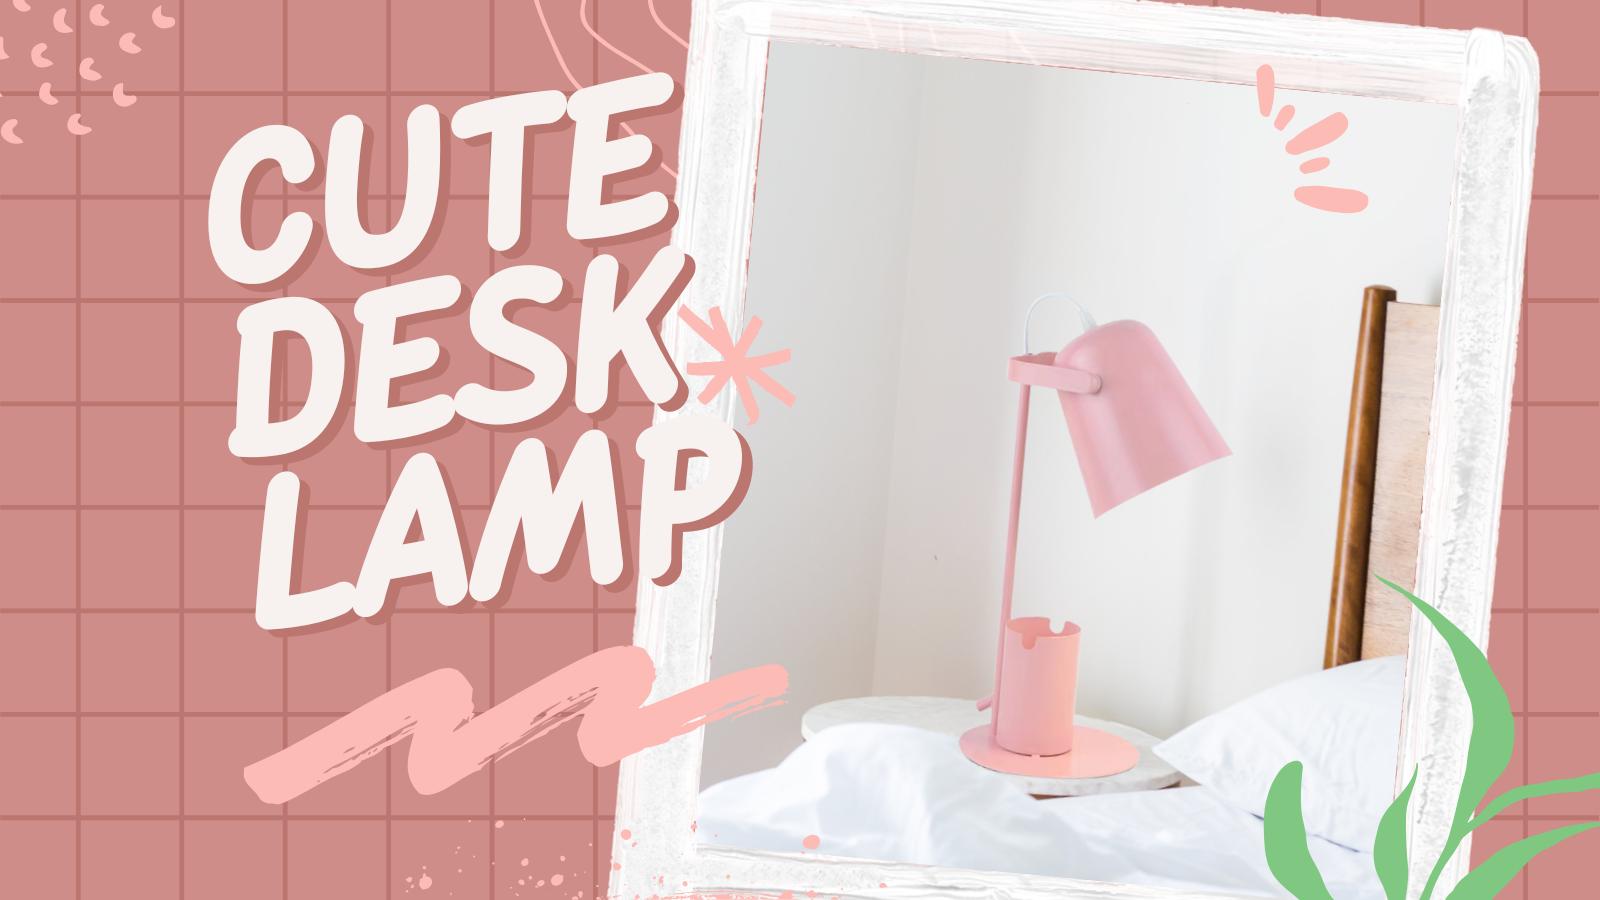
Find a reliable cute desk lamp wholesale supplier for students, creatives, and office spaces. Bulk orders, OEM options, and factory-direct pricing available.

Find the perfect bedroom table lamps for your home. Explore stylish, dimmable, and energy-efficient options to enhance your bedroom decor and comfort.

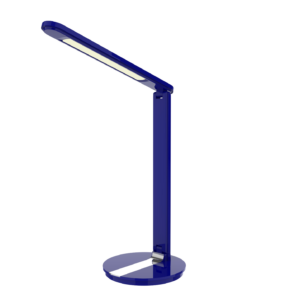
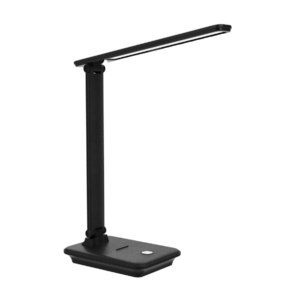
Find the best adjustable & dimmable desk lamps for your home office.